Hami Hardware Store
Home Drip Arigation HD
Home Drip Arigation HD
Couldn't load pickup availability
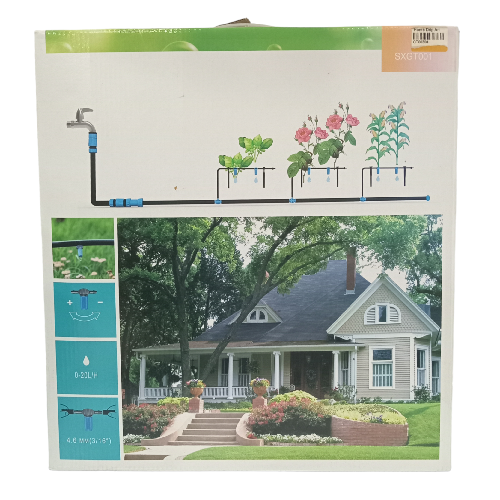
Creating a home drip irrigation system can be a cost-effective and water-efficient way to keep your garden or plants well-hydrated. Drip irrigation delivers water directly to the base of plants, minimizing water wastage through evaporation and runoff. Here's a step-by-step guide to help you set up a basic home drip irrigation system:
Materials Needed:
-
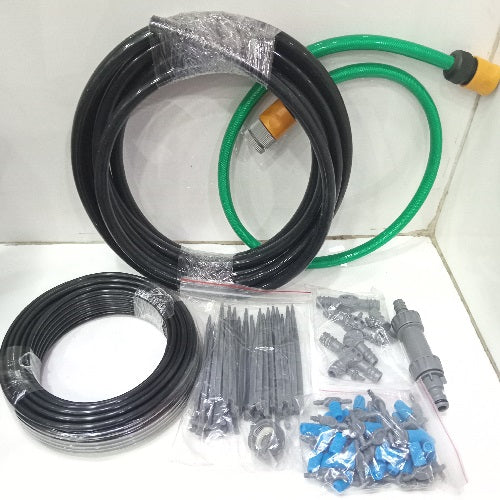
Drip Tubing/Hose: This is the main supply line that carries water to your plants. It's typically a flexible tube made of polyethylene.
-
Emitters/Drippers: These are devices that control the flow of water to individual plants. You can choose from various types, such as adjustable drippers or drip stakes.
-
Filter: Install a filter to prevent debris from clogging the emitters and tubing.
-
Pressure Regulator: This helps maintain a consistent water pressure throughout the system, preventing damage to emitters.
-
Backflow Preventer: A backflow preventer stops water from flowing back into your main water supply, preventing contamination.
-
Connectors and Fittings: Use connectors to attach the tubing to your water source and fittings to create connections between tubing sections.
-
Stakes or Hold-Downs: These keep the tubing in place and prevent it from moving around.
-
Timer: Consider adding a timer to automate the watering schedule, ensuring consistency and efficiency.
Steps:
-
Plan Your System:
- Measure your garden or the area you want to irrigate.
- Determine the water requirements of your plants.
- Decide on the layout of your drip system, considering the location of plants and the water source.
-
Connect to Water Source:
- Connect the drip tubing to your outdoor water faucet using a hose connector.
- Install a backflow preventer to protect your water supply.
-
Install Filter and Pressure Regulator:
- Attach a filter to the tubing to prevent clogs.
- Connect a pressure regulator to maintain consistent water pressure.
-
Lay Drip Tubing:
- Lay the main drip tubing along the planned route, securing it in place with stakes or hold-downs.
- Cut the tubing to the required length using a sharp knife or tubing cutter.
-
Install Emitters:
- Attach emitters to the tubing at the base of each plant. The spacing will depend on the water needs of your plants.
-
Assemble Connections:
- Use connectors and fittings to create a network of tubing that reaches all areas of your garden.
-
Test the System:
- Turn on the water and check for leaks.
- Make adjustments to the emitters' flow rate if needed.
-
Add a Timer (Optional):
- Install a timer to automate your watering schedule based on the specific needs of your plants.
-
Monitor and Maintain:
- Regularly check the system for clogs, leaks, or other issues.
- Adjust the watering schedule based on weather conditions and the needs of your plants.
Remember to tailor the system to your specific garden layout and plant requirements. This basic guide should help you get started with creating an efficient home drip irrigation system.
#HomeIrrigation
#DripSystem
#SmartGardening
#WaterWiseHome
#DIYIrrigation
#DripIrrigation
#GreenThumbHome
#WaterSmartLiving
#IrrigateYourSpace
#SustainableGarden
Share


